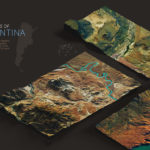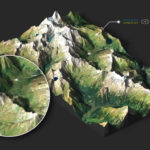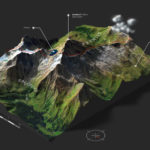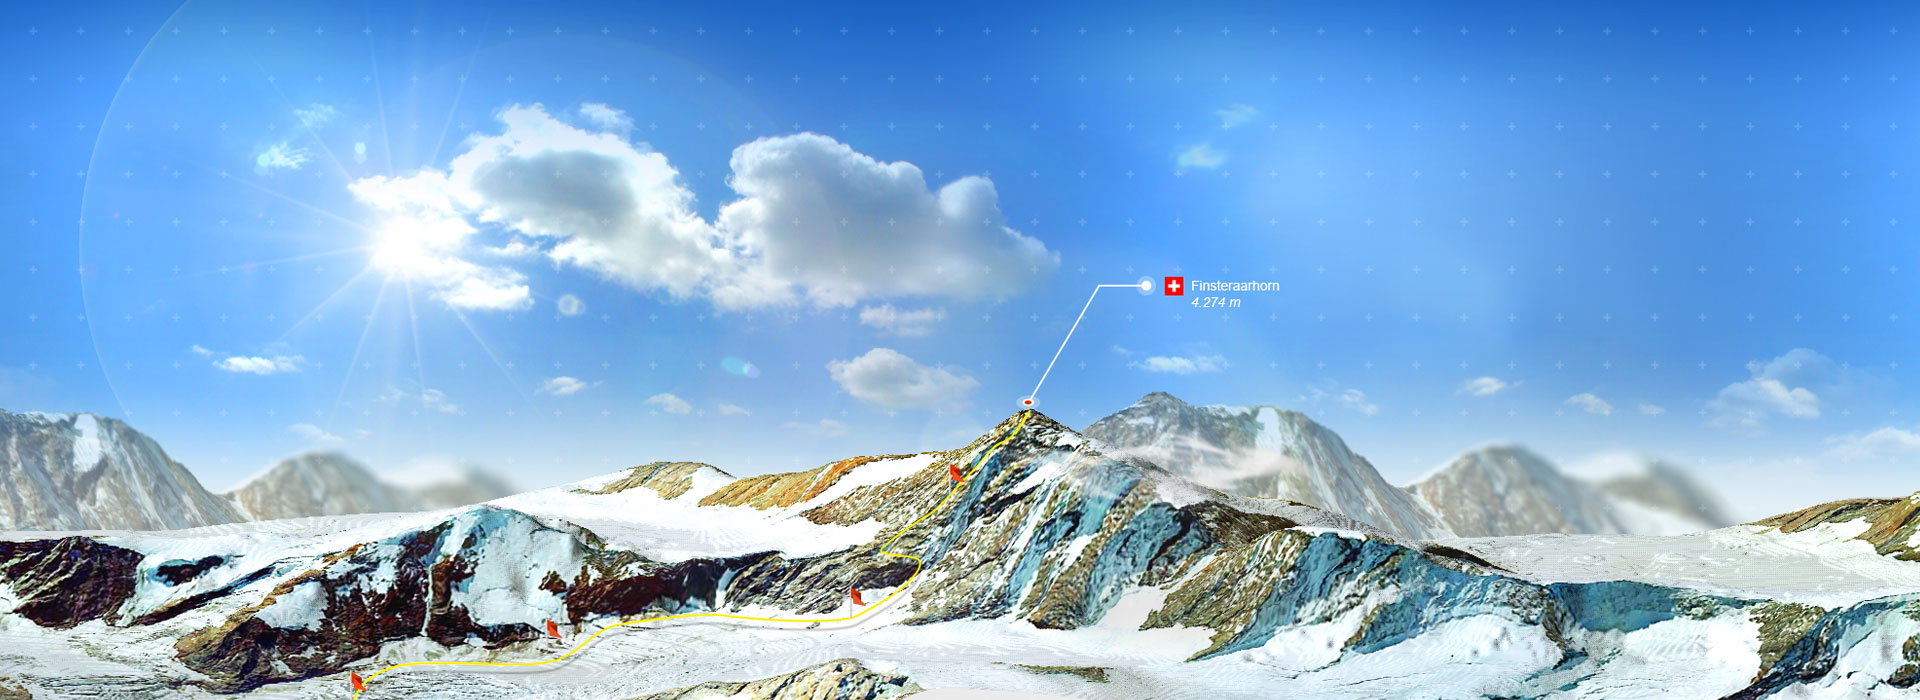
From heightmap to real 3D map in 3 easy steps
Step 1
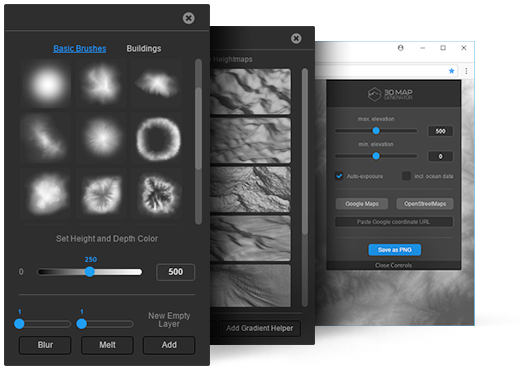
To create a 3D map with ATLAS, you need a heightmap. The plug-in offers several possibilities to get one.
With the Auto-Heightmaps you can create different random heightmaps with just one click. These can be used as raw material to draw your own highmaps by using the Heightmapp Brushes.
With the Heightmap browser and the alternative online heightmap sources you can download heightmaps from real locations of almost every place in the world. You’ll get the access for the browser with your purchase code via the plug-in.
Step 2
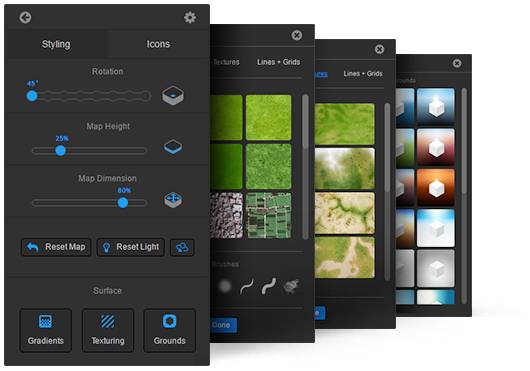
After you now created a 3D map from your heightmap, you can change its height, dimension and isometric direction. These values are editable at any time.
If there is a texture existing, it can be adjusted now. If there is none, you can create one by using the Texturing or Gradient tool. There are several gradient presets, texture brushes and auto textures available.
Several background presets will polish your 3D map and turn it into a big picture.
Step 3
In this final step you can design your 3D map. If the position and dimension of the 3D map is set, use the icons and elements from the library to make it unique. There are also fitting additional icon sets available, that can be purchased in our shop and uploaded directly into the plug-in’s library.
All settings at the map can be changed at any time. So this is just an example and you may also go back from step 3 to step 2. With ATLAS you keep your freedom in designing.
- PC or MAC
- Mac OS X v10.9 (64-bit) or v10.10 (64-bit)
- Microsoft Windows 7 with Service Pack 1 or Windows 8.1
- Intel® Core 2 or AMD Athlon® 64 processor; 2 GHz or faster processor
- 2 GB of RAM (8 GB recommended)
- OpenGL-enabled graphics card
- min. Photoshop CC.2015.5 or newer (CC-2018 recommended)
- English Photoshop version (Every language can easily be changed to English and vice versa)


